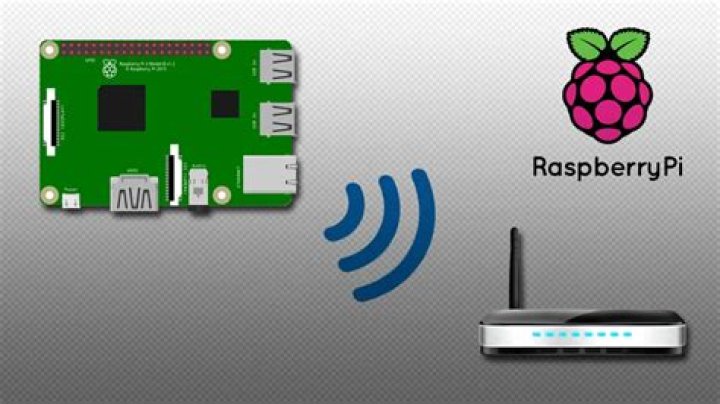
How to Access Your Raspberry Pi Over the Internet: A Comprehensive Guide
Accessing your Raspberry Pi over the internet has become an essential skill for hobbyists, developers, and professionals alike. Whether you're managing a home server, running IoT devices, or setting up remote monitoring systems, the ability to connect to your Raspberry Pi remotely opens up endless possibilities. However, this process requires careful planning, security considerations, and the right tools to ensure smooth and safe connectivity.
With the growing popularity of remote work and cloud-based solutions, understanding how to securely access your Raspberry Pi from anywhere in the world is more important than ever. This guide will walk you through the steps needed to set up remote access, troubleshoot common issues, and implement best practices for securing your connection.
By the end of this article, you'll have a clear understanding of the tools and techniques required to access your Raspberry Pi over the internet. Whether you're a beginner or an advanced user, this guide will provide you with the information you need to get started confidently.
Introduction to Remote Access
Remote access to your Raspberry Pi enables you to control and manage your device from anywhere in the world. This capability is particularly useful for projects that require constant monitoring or updates, such as home automation systems, weather stations, or security cameras.
Why Access Your Raspberry Pi Remotely?
There are several reasons why accessing your Raspberry Pi over the internet is beneficial:
- Convenience: Manage your projects without being physically present.
- Flexibility: Access your files, scripts, and applications from any location.
- Scalability: Expand your project's functionality by integrating cloud services.
Setting Up Your Raspberry Pi for Remote Access
Before you can access your Raspberry Pi over the internet, you need to ensure that your device is properly configured. Follow these steps to prepare your Raspberry Pi for remote access:
Step 1: Update Your Raspberry Pi
Start by updating your Raspberry Pi's operating system to ensure you have the latest features and security patches. Use the following commands:
sudo apt update && sudo apt upgrade
Step 2: Enable SSH
SSH (Secure Shell) is a protocol that allows you to securely connect to your Raspberry Pi from another device. Enable SSH by navigating to the Raspberry Pi Configuration tool or using the command:
sudo raspi-config
Methods to Access Your Raspberry Pi Over the Internet
There are several methods to access your Raspberry Pi remotely. Each method has its own advantages and considerations:
Method 1: SSH
SSH is one of the most popular methods for remote access due to its simplicity and security. It allows you to execute commands and manage files directly from your terminal.
Method 2: VNC
VNC (Virtual Network Computing) provides a graphical interface for remote access, making it ideal for users who prefer a desktop-like experience.
Method 3: ngrok
ngrok is a tool that creates secure tunnels to your local server, enabling quick and easy remote access without complex configurations.
Ensuring Secure Connections
Security is paramount when accessing your Raspberry Pi over the internet. Follow these best practices to protect your device:
1. Use Strong Passwords
Ensure that your Raspberry Pi's login credentials are strong and unique. Avoid using default passwords like "raspberry."
2. Enable Two-Factor Authentication
Implement two-factor authentication (2FA) to add an extra layer of security to your SSH connections.
3. Regularly Update Your System
Keep your Raspberry Pi's software up to date to patch vulnerabilities and protect against potential threats.
Using SSH for Remote Access
SSH is a versatile tool for accessing your Raspberry Pi remotely. Here's how to set it up:
Step 1: Find Your Raspberry Pi's IP Address
Use the command:
hostname -I
This will display your Raspberry Pi's local IP address.
Step 2: Connect Using SSH
From your remote device, open a terminal and enter:
ssh pi@
Replace
Setting Up VNC for Remote Desktop Access
VNC allows you to access your Raspberry Pi's desktop environment remotely. Here's how to set it up:
Step 1: Install RealVNC
Use the following command to install RealVNC on your Raspberry Pi:
sudo apt install realvnc-vnc-server realvnc-vnc-viewer
Step 2: Connect to Your Raspberry Pi
Download the VNC Viewer app on your remote device and enter your Raspberry Pi's IP address to establish a connection.
Using ngrok for Quick Remote Access
ngrok simplifies the process of accessing your Raspberry Pi over the internet. Here's how to use it:
Step 1: Install ngrok
Download and install ngrok on your Raspberry Pi by following the instructions on the official website.
Step 2: Create a Tunnel
Run the following command to create a secure tunnel:
./ngrok tcp 22
This will provide you with a public URL to access your Raspberry Pi remotely.
Configuring Port Forwarding
Port forwarding allows you to direct incoming traffic from the internet to your Raspberry Pi. Here's how to configure it:
Step 1: Access Your Router's Settings
Log in to your router's admin interface and navigate to the port forwarding section.
Step 2: Set Up a Rule
Create a rule that forwards incoming traffic on port 22 (or another port of your choice) to your Raspberry Pi's local IP address.
Dynamic DNS for Easier Access
Dynamic DNS (DDNS) services allow you to assign a domain name to your Raspberry Pi's IP address, making it easier to access. Here's how to set it up:
Step 1: Choose a DDNS Provider
Select a reputable DDNS provider such as No-IP or DuckDNS.
Step 2: Configure Your Raspberry Pi
Follow the provider's instructions to configure your Raspberry Pi to update its IP address automatically.
Troubleshooting Common Issues
Here are some common issues you may encounter when accessing your Raspberry Pi over the internet and how to resolve them:
Issue 1: Unable to Connect via SSH
Check your firewall settings and ensure that port 22 is open. Verify that SSH is enabled on your Raspberry Pi.
Issue 2: Slow Connection Speeds
Optimize your network settings and consider upgrading your internet plan if necessary. Use tools like ping to test latency.
Issue 3: Security Concerns
Regularly monitor your Raspberry Pi's logs for unauthorized access attempts. Implement security measures such as fail2ban to block suspicious activity.
Conclusion and Next Steps
Accessing your Raspberry Pi over the internet is a powerful capability that can enhance your projects and streamline your workflow. By following the steps outlined in this guide, you can set up secure and reliable remote access using SSH, VNC, or other methods.
We encourage you to share your experiences and ask questions in the comments section below. Don't forget to explore our other articles for more tips and tutorials on working with Raspberry Pi and related technologies.
Thank you for reading, and happy tinkering!