Mastering Reverse Tunnel Raspberry Pi: A Comprehensive Guide
In today's interconnected world, remote access to devices has become an essential skill for tech enthusiasts and professionals alike. Reverse tunnel Raspberry Pi is a powerful technique that allows you to access your Raspberry Pi securely from anywhere, even behind restrictive firewalls. This guide will delve into the intricacies of setting up and utilizing reverse tunnels on your Raspberry Pi, ensuring you have the knowledge to implement this technology effectively.
Whether you're a beginner or an advanced user, understanding reverse tunneling on Raspberry Pi can significantly enhance your ability to manage remote systems. This technique is particularly useful for scenarios where traditional port forwarding is not feasible due to network restrictions or dynamic IP addresses.
As we explore the concept of reverse tunnel Raspberry Pi, we will cover everything from the basics to advanced configurations. By the end of this article, you will have a clear understanding of how to set up and optimize reverse tunnels, empowering you to take full control of your Raspberry Pi from any location.
Introduction to Reverse Tunnel Raspberry Pi
A reverse tunnel Raspberry Pi setup enables secure remote access to your device, regardless of its location or network configuration. This technique is widely used in environments where direct access to a device is hindered by firewalls, NAT, or dynamic IP addresses.
The ability to establish a reverse tunnel provides numerous advantages, such as remote monitoring, automation, and troubleshooting. By leveraging this technology, users can maintain control over their Raspberry Pi devices without being physically present.
What is a Reverse Tunnel?
A reverse tunnel is a network connection that allows a client behind a firewall or NAT to initiate communication with a server located outside the local network. In the context of Raspberry Pi, this means your device can connect to a remote server, enabling you to access it securely from anywhere.
How Does a Reverse Tunnel Work?
- The Raspberry Pi initiates an outgoing connection to a designated server.
- This connection remains open, allowing the server to communicate with the Raspberry Pi.
- Users can then access the Raspberry Pi through the server, bypassing any network restrictions.
By using SSH (Secure Shell) as the primary protocol, reverse tunnels ensure encrypted communication between the Raspberry Pi and the remote server.
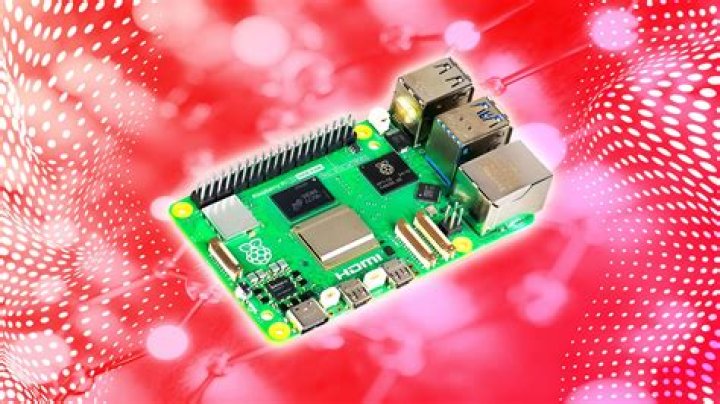
Raspberry Pi Overview
The Raspberry Pi is a versatile single-board computer designed for educational and hobbyist purposes. Its compact size, low cost, and extensive community support make it an ideal platform for experimenting with advanced networking techniques like reverse tunneling.
Key features of the Raspberry Pi include:
- Multiple GPIO pins for hardware interfacing.
- Support for various operating systems, including Linux distributions.
- Compatibility with a wide range of accessories and expansion boards.
Setting Up a Reverse Tunnel on Raspberry Pi
Setting up a reverse tunnel on Raspberry Pi involves several steps, from configuring the local device to establishing a connection with a remote server. Below is a detailed guide to help you through the process:
Step 1: Prepare Your Raspberry Pi
Ensure your Raspberry Pi is properly set up with an operating system like Raspberry Pi OS. Update the system using the following commands:
sudo apt update && sudo apt upgrade
Step 2: Install SSH
Enable SSH on your Raspberry Pi by running:
sudo systemctl enable ssh
sudo systemctl start ssh
Step 3: Configure the Remote Server
Choose a reliable server hosting provider and set up an SSH server. Ensure port forwarding is configured correctly on your router.
Step 4: Establish the Reverse Tunnel
Use the following SSH command to create a reverse tunnel:
ssh -R 2222:localhost:22 user@remote-server
Tools and Software Required
To successfully implement a reverse tunnel Raspberry Pi setup, you will need the following tools and software:
- Raspberry Pi device with Raspberry Pi OS installed.
- A stable internet connection for both the Raspberry Pi and the remote server.
- An SSH client installed on your local machine.
- A remote server with SSH capabilities.
Security Considerations
Security is paramount when setting up a reverse tunnel Raspberry Pi configuration. Below are some best practices to ensure your setup remains secure:
- Use strong, unique passwords for all accounts involved.
- Enable two-factor authentication (2FA) whenever possible.
- Regularly update your Raspberry Pi and remote server software.
- Limit SSH access to trusted IP addresses.
Troubleshooting Common Issues
During the setup process, you may encounter various issues. Here are some common problems and their solutions:
Problem: SSH Connection Fails
Solution: Verify that SSH is enabled on both the Raspberry Pi and the remote server. Check your firewall settings to ensure port 22 is open.
Problem: Reverse Tunnel Disconnects Frequently
Solution: Use a tool like autossh to maintain a persistent connection. Install it on your Raspberry Pi using:
sudo apt install autossh
Advanced Configurations
Once you have a basic reverse tunnel Raspberry Pi setup, you can explore advanced configurations to enhance functionality:
Dynamic DNS Integration
Use a dynamic DNS service to assign a consistent domain name to your Raspberry Pi, even with a dynamic IP address.
Port Forwarding Optimization
Experiment with different port numbers to optimize performance and security.
Real-World Applications
Reverse tunnel Raspberry Pi setups find applications in various fields:
- Remote Monitoring: Monitor environmental sensors or security cameras remotely.
- Automation: Control smart home devices from anywhere.
- Development: Test and deploy applications on a remote Raspberry Pi.
Conclusion and Call to Action
In conclusion, mastering reverse tunnel Raspberry Pi techniques opens up a world of possibilities for remote access and control. By following the steps outlined in this guide, you can securely connect to your Raspberry Pi from anywhere, enhancing your productivity and flexibility.
We encourage you to share your experiences and ask questions in the comments section below. Additionally, explore other articles on our site to deepen your knowledge of Raspberry Pi and related technologies. Together, let's build a community of tech enthusiasts committed to learning and innovation!